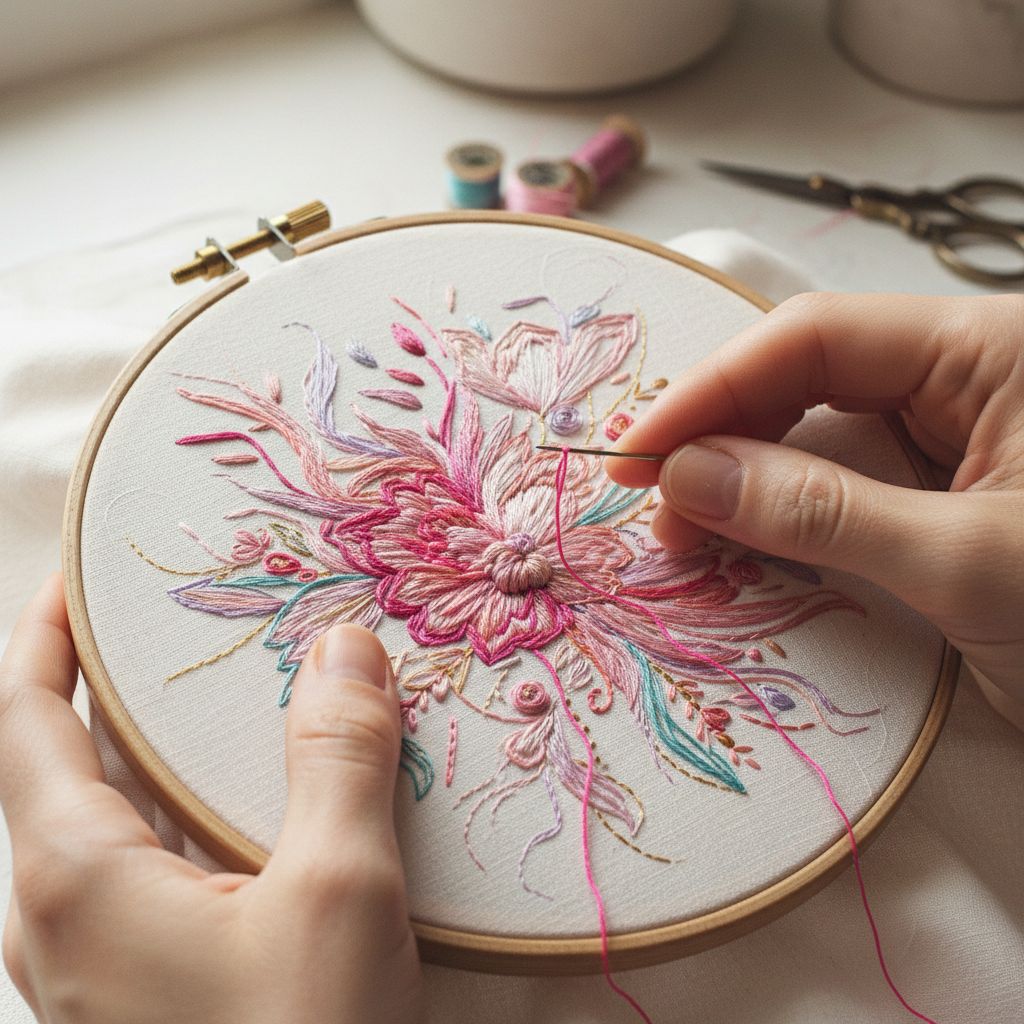
This mini embroidered wall hanging is a quick and easy way to make yourself something lovely to stare at while you’re stuck at your desk, fantasising about the great outdoors. It does just as good a job at filling that odd bare spot on the wall at home too. Follow the embroidery pattern or go completely off-piste and sew your fantasy nature escape – mountains by moonlight, a fragrant pine forest…wherever you’d rather be!
MATERIALS:
1/4 metre (25 cm) plain cotton fabric (I’ve used a light blue shade) Matching cotton thread Stranded embroidery cottons in a range of colours 45cm of stiff twine or cord (about 2-3mm thick) Pencil tracing paper Embroidery hoop Embroidery needle 2 safety pins Scissors Tailor’s chalk Sewing machine Iron
INSTRUCTIONS:
1. Trace the embroidery template provided onto your tracing paper (a soft pencil like a 2B works best for this but any pencil will do), including the outline of the wall-hanging. Cut out around the outline.
Turn your paper over and lay it face down on the front of your fabric (position it so you have enough room around the edge for your embroidery ring).
On the back of your paper, draw over your pattern again (you should be able to see it through your paper), pressing hard to imprint the drawing onto your fabric.
Also draw around the edges of your paper to mark the shape of your wall hanging. You might want to draw over your pattern again on your fabric if it’s a bit faint.
2. Stretch your fabric on your embroidery ring (I used a large ring because I had it handy, but a roughly 20cm ring works well).
3. Using three strands at a time of your stranded embroidery thread, sew along the lines of your sun and hills with a running stitch. For the water I’ve used a chain stitch, and for the reeds and trees I’ve used single, long stitches. I’ve also added some single stitches as highlights along the tops of the hills and some French knots for the sunlight and water.
4. Once your embroidery is finished, remove the ring and cut out around your hanging. Cut out a second, plain piece the same size and shape. Lay out your second piece, face up and place the embroidered piece face down on top. Pin around the edges and sew 1cm along the sides and point, but leave the top edge unsewn.
5. Turn your fabric right way out and press. Fold the top edge in all the way around by 1cm and press.
6. Next, sew around the other edges (still leaving the top unsewn) about 2-3mm in (this is optional, but just gives a more finished look).
7. With your embroidery face down, fold the top edge over by 1.5cm and pin in place. Sew 1cm in along the folded edge to create a channel.
8. Take your twine/cord and pin a safety pin to one end. Pin another across the other end. Push your first safety pin through the end of the channel created at your folded edge. Use the safety pin to help you move the cord through the channel. Once it’s all the way through, remove the pins and tie the ends together. Pull the twine/cord back until the knot is hidden inside the tube. Now you’re ready to hang it up!
See more amazing things from Anna Alicia over here.
About the Author
admin
This is a website that that is passionate about all things hand crafted, including hang made scarves, fishing, and gardening, scrapbooking, and even woodworking.
We have some handy advice and tips, you can read.