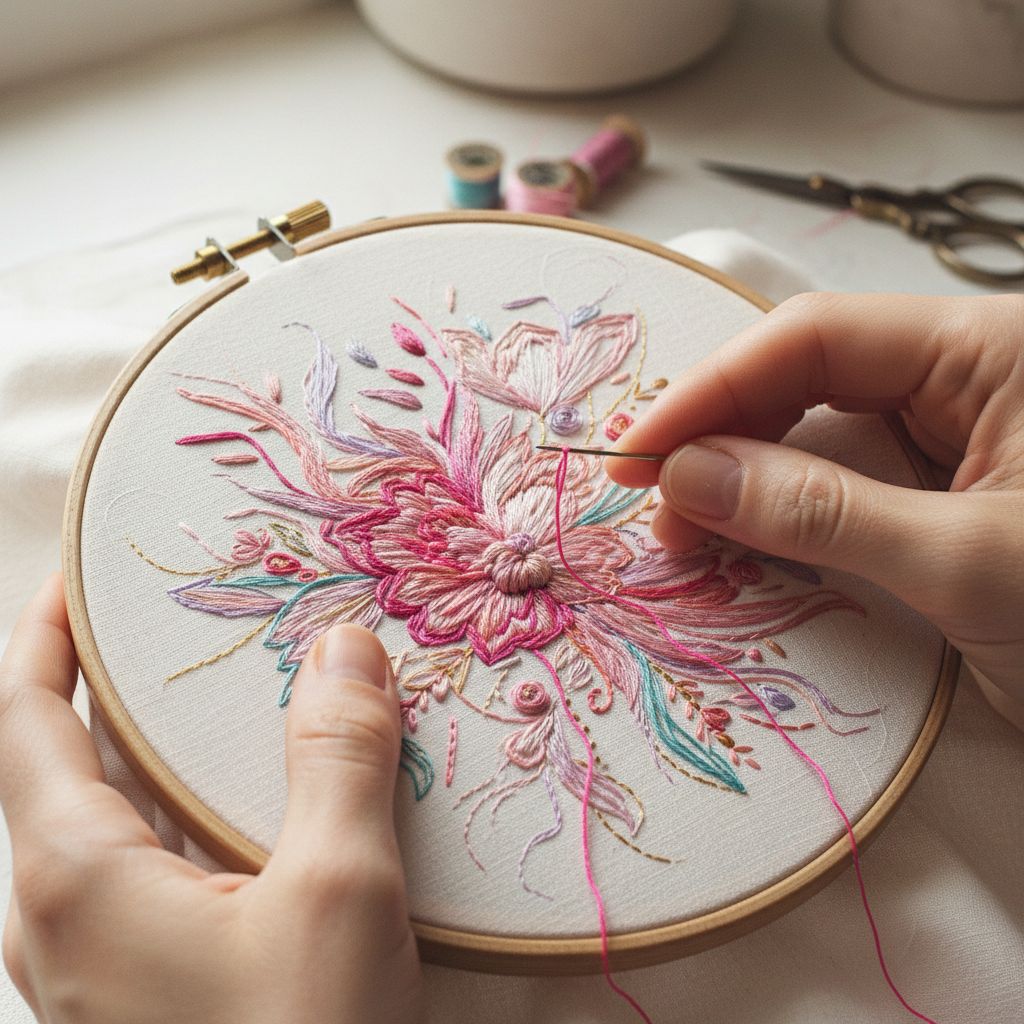
If you’ve ever finished piecing and quilting a project, only to stare at the raw edges thinking now what?, you’re not alone. Binding a quilt is one of those steps that can feel intimidating, especially when it comes to getting those corners neat and tidy. I’ll admit, my first few quilts had corners that looked more like crumpled origami than crisp folds. But over time, I discovered that binding doesn’t have to be stressful—it can actually be one of the most satisfying steps.
In this guide, I’ll show you how to bind a quilt the easy way, with simple techniques that will leave you with perfect corners every time. Whether you’re brand new to quilting or just looking for a smoother process, this method is reliable, beginner-friendly, and leaves your quilt looking polished.
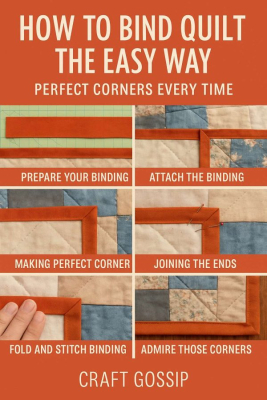
What You’ll Need: Quilt sandwich (quilt top, batting, backing), quilted and squared up; Binding strips (2 ½” wide is standard); Sewing machine with walking foot (recommended); Pins or binding clips; Scissors and a rotary cutter; Iron and pressing board.
Step 1: Prepare Your Binding Cut strips of fabric 2 ½” wide. Sew them together end-to-end with diagonal seams to create one long strip. Press the seams open. Then fold the strip in half lengthwise, wrong sides together, and press.
Pro tip: Joining strips on the diagonal reduces bulk, which helps the binding lie flatter.
Step 2: Attach the Binding to the Front Starting in the middle of one side, align the raw edge of the binding with the raw edge of the quilt top. Leave about a 10-inch tail before you start sewing—this will make it easier to join the ends later. Sew with a ¼” seam allowance, using a walking foot to keep layers feeding evenly.
Step 3: Making Perfect Corners (Mitered Corners) Sew up to ¼” from the edge of your quilt, then stop and backstitch. Remove the quilt from your machine. Fold the binding strip up so it makes a 45° angle.
then fold it!
About the Author
admin
This is a website that that is passionate about all things hand crafted, including hang made scarves, fishing, and gardening, scrapbooking, and even woodworking.
We have some handy advice and tips, you can read.